Many have asked which is the workflow I use to create my panoramics pictures. First of all I work on the “photographer side”: this means I choose the right subject and try to get it as it appears to my eyes. There are many artistic ways to create a good panorama. I think nobody can explain this step since it mostly depends on your way to imagine the final picture before shooting the first picture of the series. Then, I work on the “camera side”: I block exposure and start taking the pictures. I always take at least a couple of “rotations” (from left to right). The number of overlapping pictures I take for each panorama depends on the subject. The overlap of each picture is on average 20-30%. If I’m in front of a couple of aircraft, I will probably take some 5-6 pictures. If I have to create the panorama of Sydney skyline from the bay, I will have to take around 15 pictures, even if the exact number may vary according to the focal length I’m using. Even if I don’t use the tripod I always use the horizon as a reference to keep a level panning plane. The third step is the image merging. Most of the picture I have uploaded on this website were created using Canon Photostich an easy to use software that I was provided with my Canon EOS 10D camera. I’ve seen many other software that do the same things as Photostich (sometimes probably more and better), some of which are open source products providing a lot of custom settings. Since I’m happy with the results I get with the Canon software I haven’t tried any of them yet. The only one I gave a try is the Photomerge function of Photoshop CS2 . Results I got with it were different but as satisfactory as those achieved with Photostich. Both can be used in automatic or manual mode (useful to correct minor fusion flaws). The thing I noticed is that PS tends to maintain the image dimensions unaltered when merging, while with Photostich panoramas need to be cut in order to remove empty areas created by the automatic rotation of the images. The downside of Photomerge is that the fusion creates more dark areas (even if not vertical bands) at the stich points caused by slight variations at the edges of the lenses of the exposures of the individual images. The final step is editing the image: in order to remove the anomalies of the raw panorama I edit the picture with Photoshop. Levels and saturation aside, I have to work with the Clone Stamp tool to remove the dark edges transitions or minor flaws. A quick search on the Internet returned some interesting tools to create automatic panoramas with customs settings to manage deformations, transitions, edges corrections. Will use one or two of them to create new panoramas and will post new pictures and comments on this website soon.
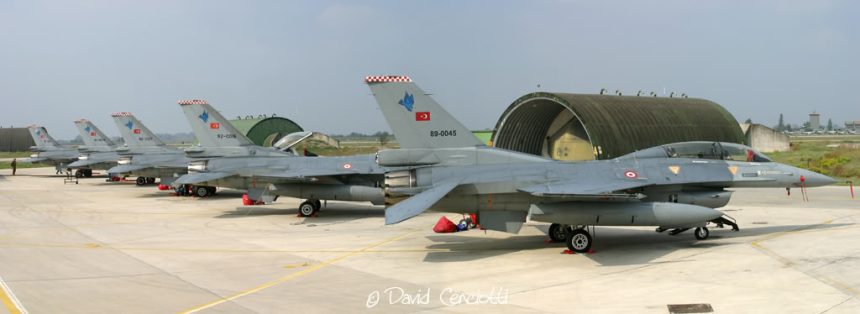
Grazzanise 07.10.04 TuAF F-16s parked on the 10th Gruppo apron during Ex. Destined Glory 04
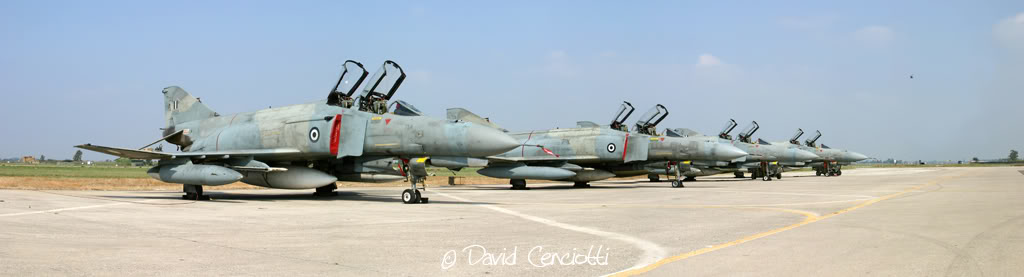
Grazzanise 07.10.04 HAF Phantoms in the 609th Squadriglia Collegamenti apron during Ex. Destined Glory 04
Axalp 12.10.06 Axalp range with the targets on the mountains behind the control tower
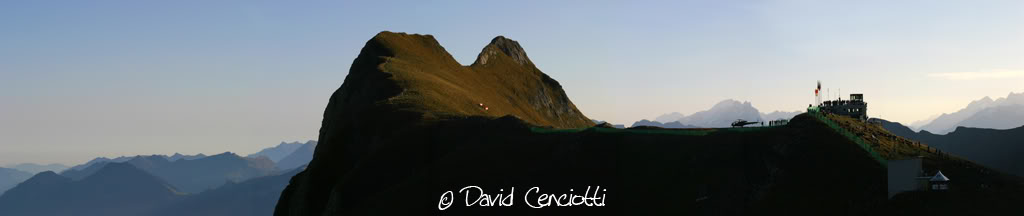
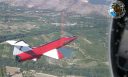
Axalp 12.10.06 A Swiss F-5 Tiger overflies the control tower during the morning firing activity in the Axalp range