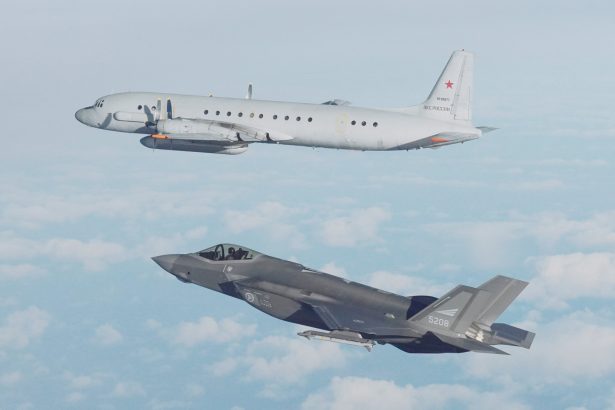
With the main European and American airshow seasons rapidly approaching, take a look here for tips on how to hone the art of aviation photography.
Modern camera technology has made aviation photography more accessible than ever. Gone are the days when you’d have to ration which aircraft you took pictures of as you’d only brought a limited number of film rolls with you – high capacity memory cards mean you can capture everything several times over, and probably still have enough room left for your next spotting trip. But how do you ensure that photos you do take are as good as they can be? Thankfully, there’s a few key things that’ll help you consistently produce great images.
I’ve been photographing aircraft for over ten years now and it’s still one of my favorite things to do. As a result of getting a camera with the intention of taking photographs of aircraft, I developed a passion for the craft as a whole and eventually did a degree in Press & Editorial Photography. I’m now an active professional freelance photographer.
This is a long article, but it is broken into sections for reading convenience. Feel free to skip to sections that you are most interested in learning about.
Cameras
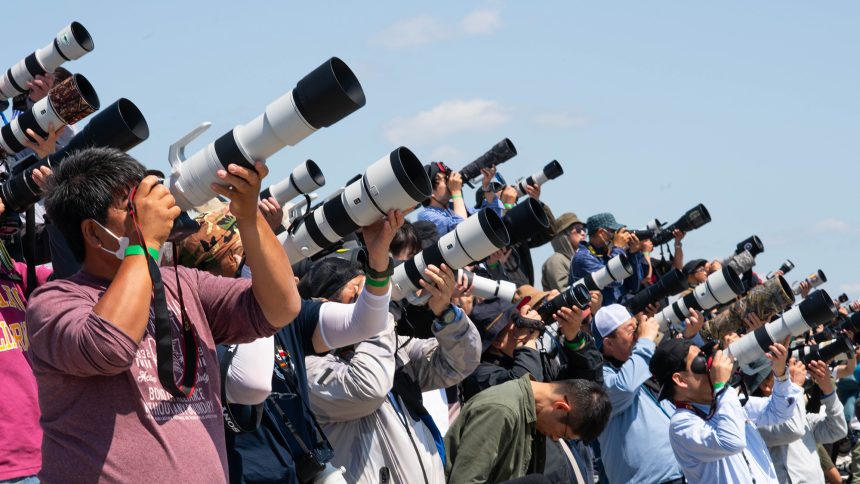
There’s no avoiding the fact that aviation photography is one genre of photography where your camera gear really can matter, and the best gear can be incredibly expensive. The long lenses used by some seasoned aviation photographers run into the thousands – some of them costing as much as an entire car.
Before you worry too much, though, you can take comfort in the fact you are living in a time where the gap between the ‘low end’ and ‘high end’ gear is shrinking rapidly. When I started out in aviation photography, I used a Canon EOS 1100D (Rebel T3), which took a maximum of three images per second and had a paltry nine focus points – specific points you could select for the autofocus system to focus on. Today’s equivalent to this camera, the EOS R100, has 3,975 autofocus points covering the entire frame and will take 6.5 images per second.
Professional level cameras have gone from topping out at around 9-14 image frames per second (FPS) to dozens or even hundreds of images per second. These advancements are thanks to camera technology shifting from digital single lens reflex (DSLR) cameras to mirrorless cameras.
On a DSLR, like film SLRs that came before, the image you see through the viewfinder is a physical reflection from a mirror mounted in front of the sensor. This has to flip up and move out of the way before an image is taken. Mirrorless cameras use electronic viewfinders (EVF) to display an actual image from the camera’s sensor – this technology is in theory actually now quite old, but it has only been in the past few years that EVFs have been able to come close to the responsiveness and brightness of an optical viewfinder (OVF). Removing the need for a mirror allows both for faster mechanical shutters, where the shutter is a physical curtain moving across the sensor, as well as electronic shutters which are silent and can capture hundreds of images per second (more on these later).
If you’re on a budget, a used DSLR can still be a great investment. With mirrorless being the hot new thing, you can actually get incredible deals on used professional grade DSLR cameras. In terms of lenses, while the lenses for DSLRs will not be directly compatible with the same brand’s mirrorless cameras, it is simple to use adapters to mount these lenses on mirrorless camera bodies. Canon and Nikon, the ‘big two’ for DSLRs, both make these adapters in house and they function seamlessly in almost every case.
The biggest things to look for aviation photography are autofocus capabilities and frames per second. Low noise at high ISOs – ISO is used to measure the sensitivity of the sensor to light, and can be changed to a varying degree – can also be beneficial. Note that while megapixel counts are usually the most advertised feature, in practice this can be lower on your priority list – megapixels are simply a measure of resolution. More resolution means you can crop more, but it also means larger files. 24 megapixels is a good middle ground, and is a common starting point for many of todays’ cameras. For comparison, a ‘4K image’ would be 8.3 megapixels, and a ‘HD image’ is only 2.1 megapixels.
If you can, try and get hands on with cameras from a few different brands. Even if they’re new models in a shop, while your budget only stretches to used cameras, each brand has their own way of setting up a camera’s layout and different people will have different preferences on which is best for them. All of the major brands of camera manufacturers make good cameras. Pick one that feels right for you, or, if you have friends or family invested in a particular brand, you could choose the same and potentially share knowledge (and gear!).
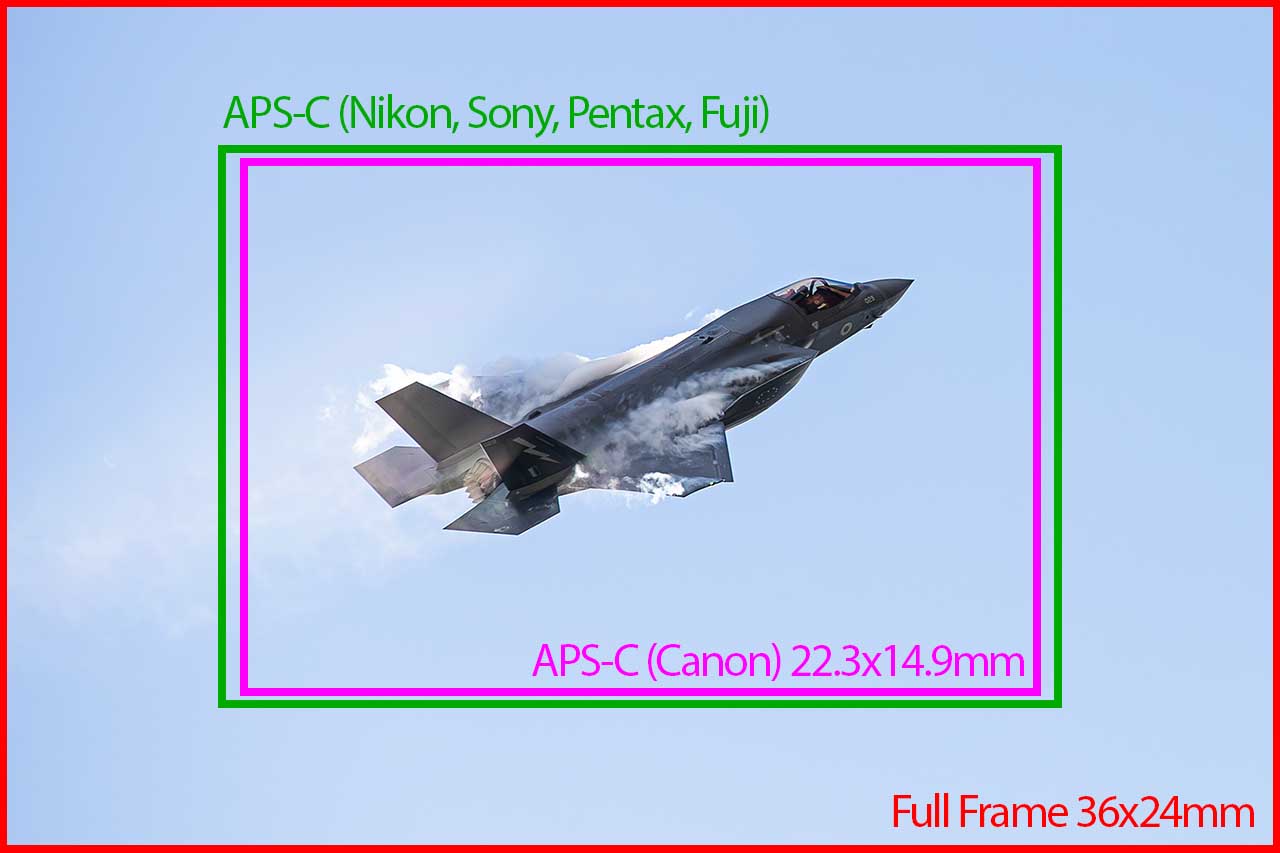
There are a number of digital camera sensor sizes – the two main ones you’ll come across when hunting for a DSLR or mirrorless camera are full frame and APS-C sensors. Full frame camera sensors are larger, they usually cost more (depending on the age) and are better at capturing photos in low light without producing as much noise. APS-C sensors, commonly called crop sensors, are smaller and usually cheaper – while they, comparing a similarly aged APS-C sensor and full frame sensor, won’t achieve the same low light performance, for aviation photography you might come to rely on the crop factor.
Since the sensors are smaller, APS-C sensors have a narrower view of a lens’ image circle, meaning you effectively have a more zoomed in image compared to a full frame sensor at each focal length. For Canon APS-C sensors, you multiply the focal length by 1.6 to work out the effective focal length – for Nikon and Sony APS-C sensors, which are very slightly bigger, you multiply it by 1.5. For example, a 50mm lens on a full frame Canon will have an effective focal length of 50mm, but on a crop sensor Canon camera it will have an effective focal length of 80mm.
Whatever you manage to get hold of, always remember – the best camera is the one you’re carrying with you.
Lenses
Although there’s a solid place for a shorter lens in your lineup – static aircraft, museums, even some civilian airport spotting locations – your bread and butter as an aviation photographer will be a telephoto lens.
There are two main categories of camera lenses: prime lenses have a fixed focal length, they do not zoom, but often boast a wider aperture allowing more light to reach the sensor, and as they are optically simpler to design and manufacture they can produce sharper, cleaner images. Zoom lenses are more versatile, and allow you to take images at a range of focal lengths, usually at the expense of having a narrower maximum aperture and slightly more compromised image quality. Zoom lenses are arguably the best place to start as a budding aviation photographer – don’t worry too much about the image quality argument, the difference is negligible compared to the versatility you gain.
View this post on Instagram
The starting point for many aviation photographers is a 70-300mm lens, or something in that region (i.e a 55-250mm). This is a great place to start, and 70-300mm class lenses can be found hitting many price points. Stepping up from this, we get to 150-600mm lenses. These have largely replaced 150-500mm lenses previously produced by third party lens manufacturers like Tamron and Sigma – these older models are still available, if your budget is very tight. The 150-600s pack an incredible amount of reach into a relatively low-cost package (starting from around 1,000 USD new).
There’s no direct first party equivalents for the 150-600mm lenses, however there are a number of similar lenses. For Sony cameras, Sony makes a 200-600mm lens that comes in around the 2000 USD price point. Canon currently offers a 100-400mm lens for its mirrorless cameras that comes in at $649.99, and Nikon makes a 180-600mm for around $1800.
Above this, lenses start getting a lot more specialized and expensive. One of the biggest factors for cost is a lens’ maximum aperture. On these more inexpensive zoom lenses, this maximum aperture will get narrower as you zoom in. With professional models like the 70-200mm f/2.8 produced by all the main brands the aperture remains constant at f/2.8 throughout. More on aperture later in the Settings category.
Be careful of super-cheap lens options available online that offer you an incredible range of zoom, in excess of 1000mm, for very low prices. Not only is the optical quality of these lenses very poor, but they are usually manual focus only and have very narrow maximum apertures. Aviation photography with these will be very difficult, and you’ll likely be discouraged by the results.
Settings
First of all, it’s a good idea to familiarize yourself with three terms:
Aperture: A measurement of a diaphragm, usually inside your lens, that most often is adjustable. A wider aperture, with a smaller number (f/1.8), allows more light to enter the camera and has a shallower depth of field – objects at different distances to where you’ve focused will quickly become blurred. Narrower apertures, with larger numbers (f/22), restrict the amount of light that can hit the sensor, but allow a wider depth of field with more of the frame in focus.
Exposure or Shutter Speed: This is the amount of time your sensor is exposed to light, measured in fractions of a second. Slower shutter speeds (1/100) capture more light, and faster shutter speeds (1/4000) capture less light. Anything that moves while the shutter is open will be blurred in the final image, so the faster moving something is the faster you want your shutter speed to be to capture a sharp image.
ISO: Often called ‘speed’ or ASA in the days of film, ISO is a measure of your sensor’s sensitivity to light. Most sensors today have a base, starting ISO of 100. The higher your ISO, the more light can be captured for a given exposure and aperture. Higher ISOs will, though, cause digital noise to become increasingly visible on the image.
It’s tempting when you first start using a camera to stay in the Auto mode, or one of the pre-programmed function modes like ‘Sport’, and let the camera do all the work. It is true that with modern processors, cameras are a lot smarter than they used to be, but these modes are still often quite limiting to your progression as a photographer. However, there are more modes available to you than simply switching straight to full Manual mode.
Most of the time when I’m taking photos, I’ll be using Aperture Priority mode (A on Nikon, Sony, Fuji, Av on Canon). In this mode I select a chosen aperture setting, and the camera picks an appropriate shutter speed for the given light reading. ISO can be controlled manually, or set to automatic mode. For jet-powered aircraft, I’ll set my aperture around my lens’ sweet spot – this is different for different lenses, but is usually a stop or two narrower than your maximum available aperture. This allows a good balance of light gathering along with maximum sharpness. This also works well when walking around and taking photos of static aircraft, although if you’re inside a museum you will need to take the low lighting into account. Start at ISO 100, or your camera’s closest equivalent, to minimize noise. You can bump this up on overcast or rainy days to compensate for the darker environment.
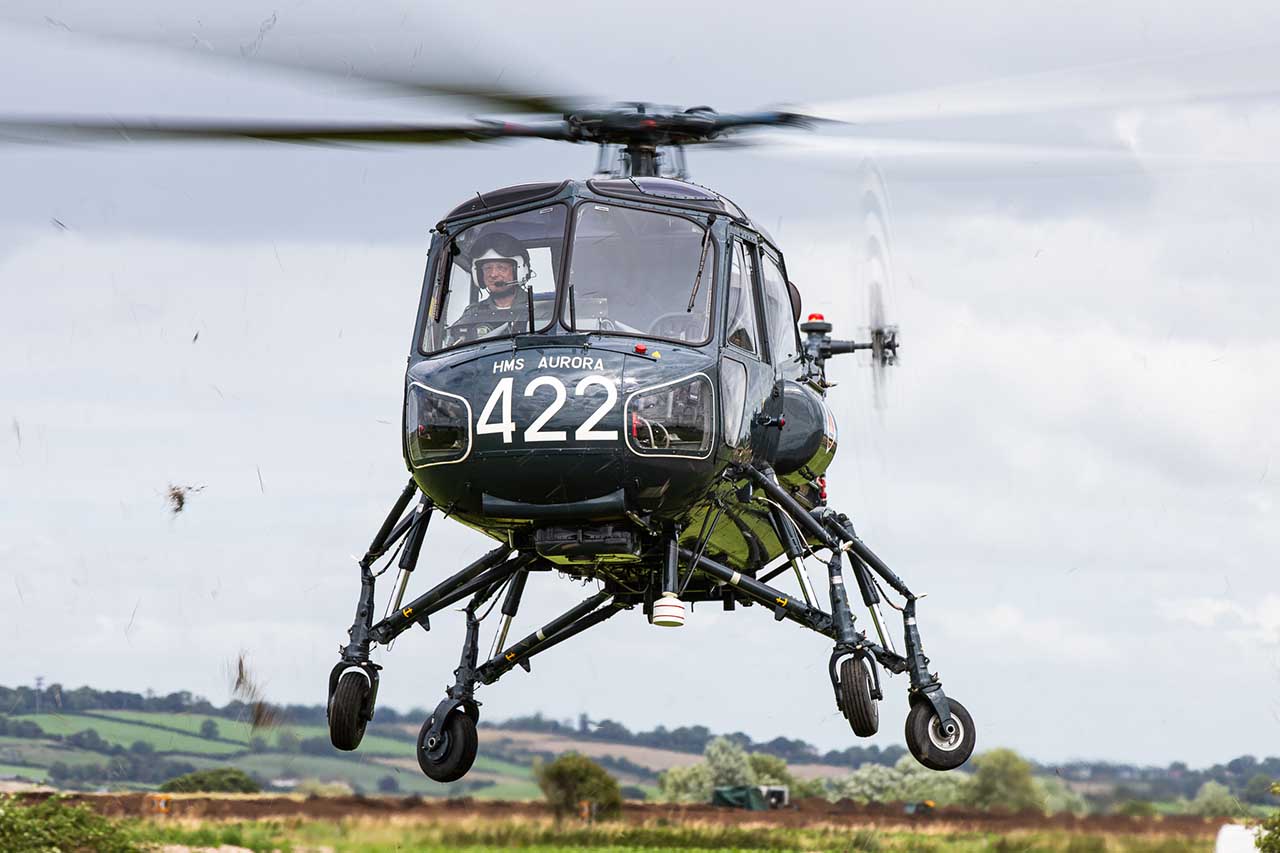
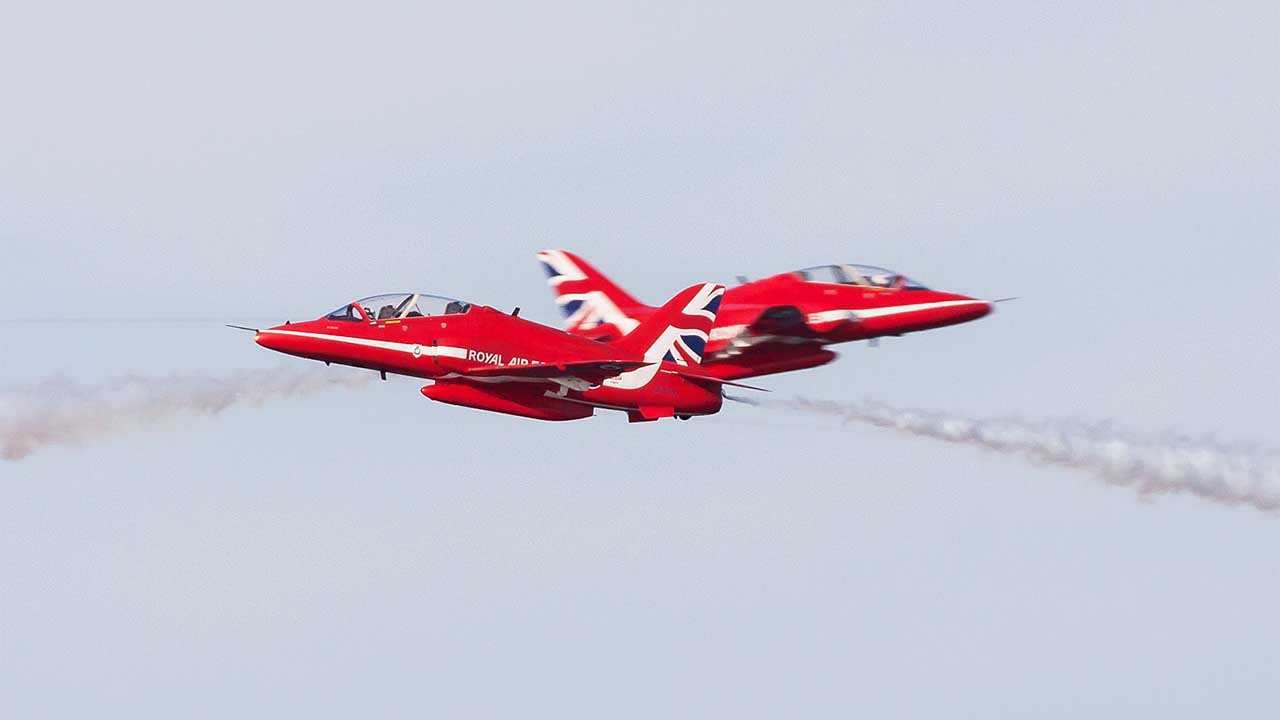
Many aviation photographers use shutter priority mode (S on Nikon, Sony, Fuji, Tv on Canon) as shutter speed is probably the thing you’ll be most concerned about. Fast jets need faster shutter speeds (ideally above 1/800 or 1/1000 to fully freeze the action), but for anything with a propeller or rotor you’ll want to slow things down to avoid the spinning blades from appearing frozen and motionless.
Most cameras have two or three autofocus modes. Single shot autofocus (AF-S on Nikon and Sony, One Shot on Canon) locks the autofocus and holds it on whatever you’ve focused on until you tell it to focus again. Continuous autofocus (AF-C, or Servo AF) tells the camera to keep focusing continuously as you or your subject moves around. The latter is what you’ll want for moving aircraft, so the camera is able to track the aircraft through the sky and constantly adjust for the correct focus. Many cameras offer an automatic mode (AF-A, AI Servo) which switches between these two automatically – your mileage may vary on this. Since you know what you’re photographing better than the camera does, it’s probably worth sticking to the first two choices.
Personally, my camera is set to continuous autofocus 99% of the time. I have my settings configured using back-button focus. This means instead of half-pressing the shutter button to focus, I use a button on the back of the camera to activate the autofocus. To lock on a subject and stop the focus changing, I can simply let go of the button.
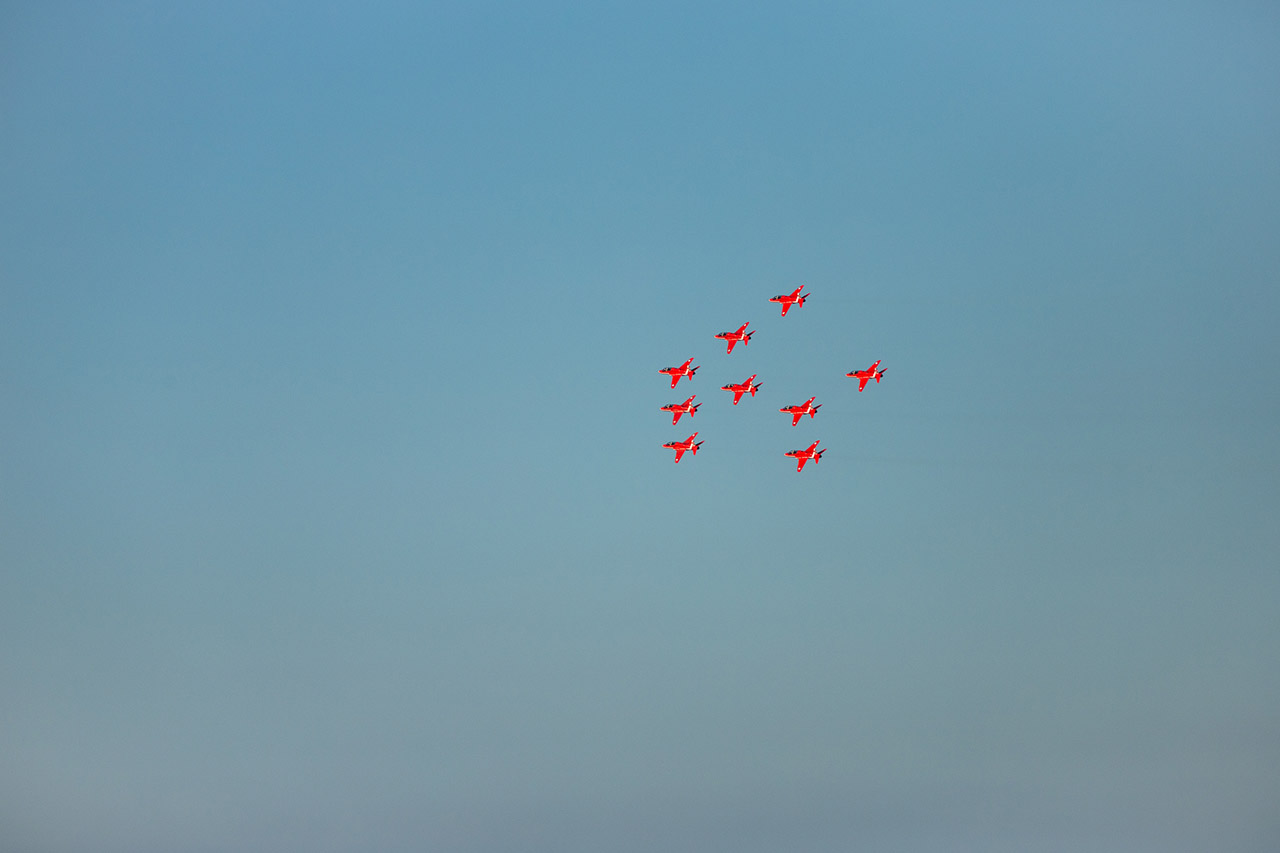
‘Spraying and praying’ – essentially ‘machine-gunning’ your shutter button to take hundreds of images in a burst is not a great habit to get used to. It can use up your camera’s buffer, preventing you from taking more images until the backlog of images can be saved to the memory card. Use the highest frames per second setting that your camera offers, but time it for the right moments – at an airshow, this might be a flare release, a topside pass, or a display team crossover pass.
If you have a mirrorless camera with both an electronic and a mechanical shutter, it can be tempting to take advantage of the extra frames per second offered by the electronic shutter mode. Be careful, though, as electronic shutters can be vulnerable to the rolling shutter effect. This can be particularly apparent on propellers and rotor blades, which can become curved or warped. Rolling shutter can still be an issue with mechanical sensors, but it is extremely rare for this to cause a problem.
Now we come to the age old RAW vs JPEG debate. Your DSLR or mirrorless camera will offer a choice to either output in the JPEG image format, or as a RAW file (which use different file extensions for different manufacturers). Technically speaking, a RAW file is not an image, it is the raw and unprocessed data that was captured by the camera sensor. As such, it needs a device or software that is able to open it to view. They also take up much more space on a card compared to a JPEG, which is a compressed image file.
So why choose RAW? As you have access to the unprocessed sensor data, you have much more leeway in processing your image in the way you want to. You can recover more of the highlights or shadows compared to a JPEG, you can change the white balance setting entirely, and you have access to a wider range of color. A RAW file is essentially your digital negative, while a JPEG is a print – even in the days of darkrooms extensive processing would take place when making these prints from the negatives to fix exposure, color etc. issues in the image.
All of the same processing techniques you’d use on a RAW file are still applied to a JPEG, it’s just that your camera decides on that processing for you and then bakes that into the file permanently. Cameras are smart these days, but they can’t read your mind and your creative decisions.
If you’d really like to have a JPEG file too, for convenience, most cameras will allow you to capture RAW and JPEG files simultaneously. Be aware, though, that this might come at a cost to how many images you can take before your buffer fills up.
Technique
With the long, often heavy, lenses employed in aviation photography, one important thing to learn is how to hold your camera properly. Instead of having your arm out to the side, holding the zoom ring from the left-hand side, try tucking your elbow into your chest and supporting the lens from below. This provides a much more steady platform for the camera, and as some of the weight is being transferred to your torso it can be much less tiring on your arms over the course of a day.
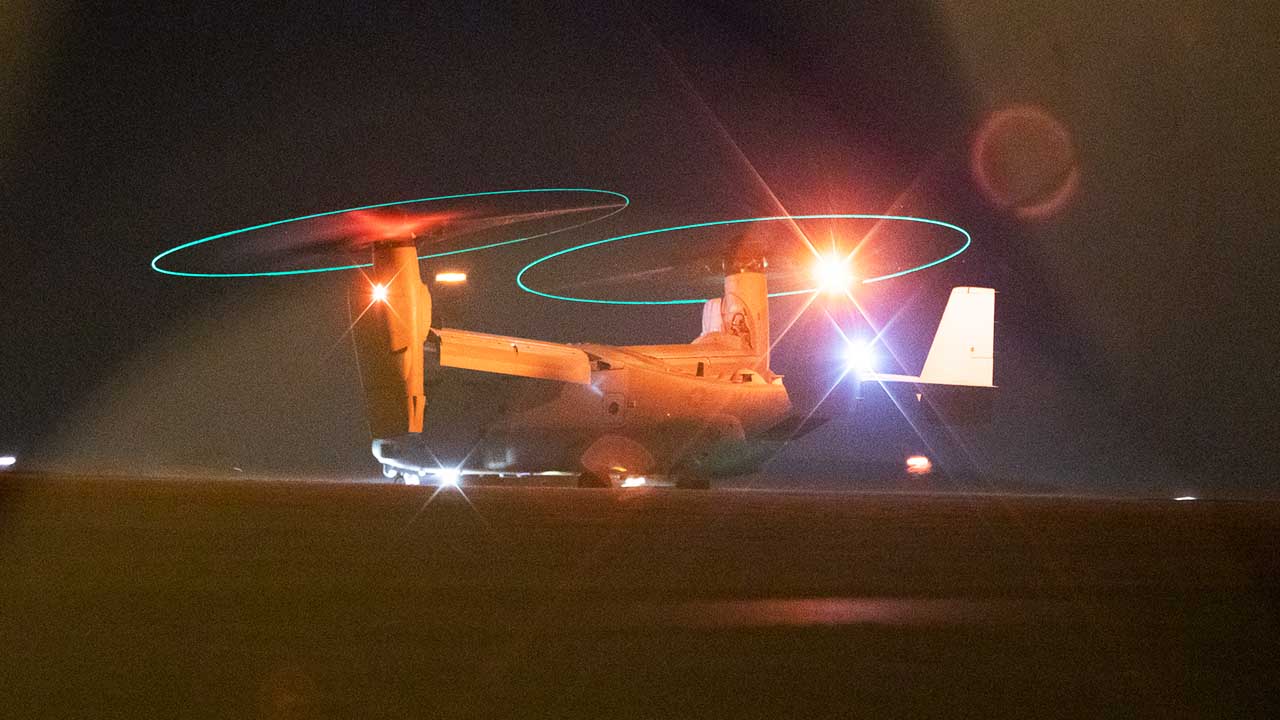
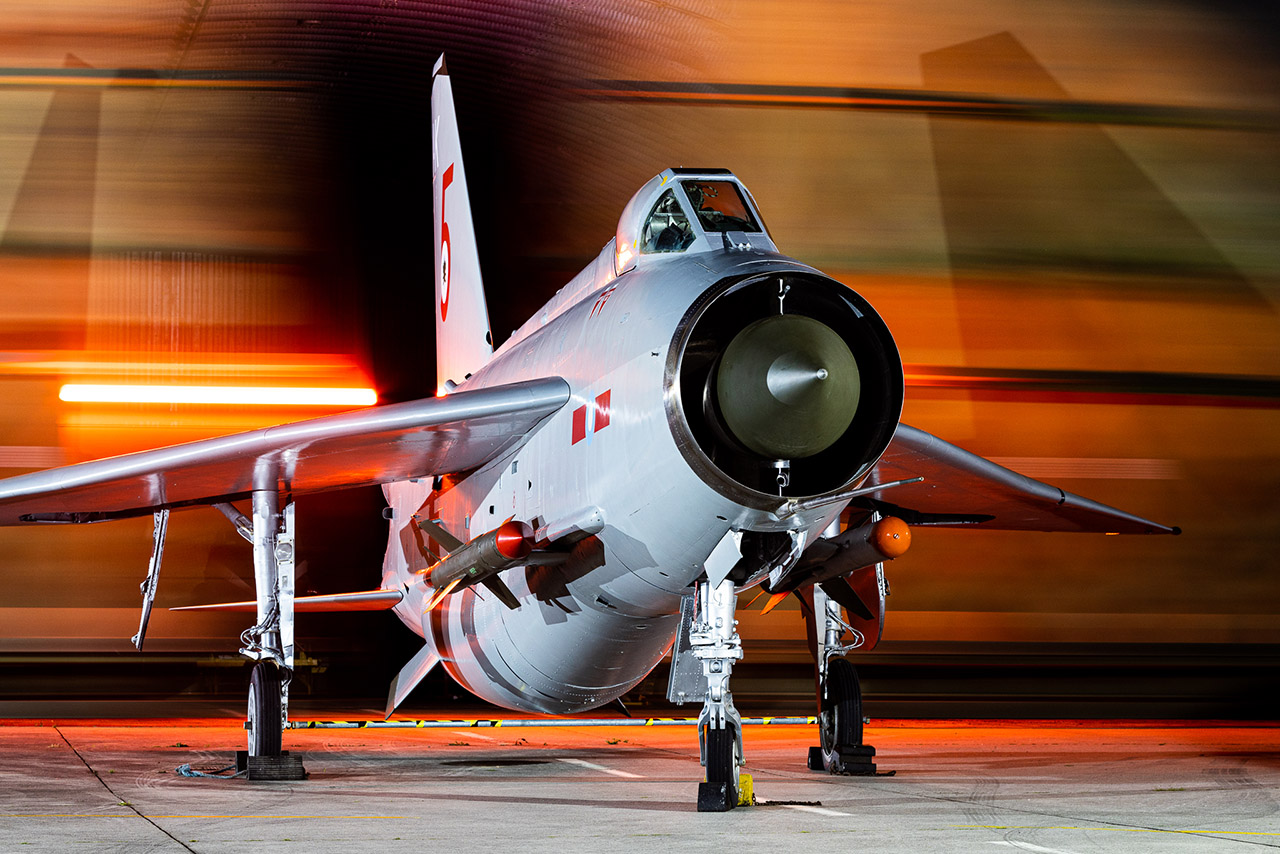
Some photographers choose to use monopods or tripods for aviation photography, particularly at airshows where you can pick a spot on the crowdline and stay for essentially the entire day. A monopod can help you with panning horizontally for aircraft taking off and landing, although it may be awkward to use to take images of aircraft high in the sky. Unless you can stretch your budget for a sturdy gimbal setup, which itself is overkill for many camera and lens setups, a tripod will probably be too limiting for normal aviation photography. Having one in your arsenal is never a bad thing, though – aviation nightshoots are very fun and very popular.
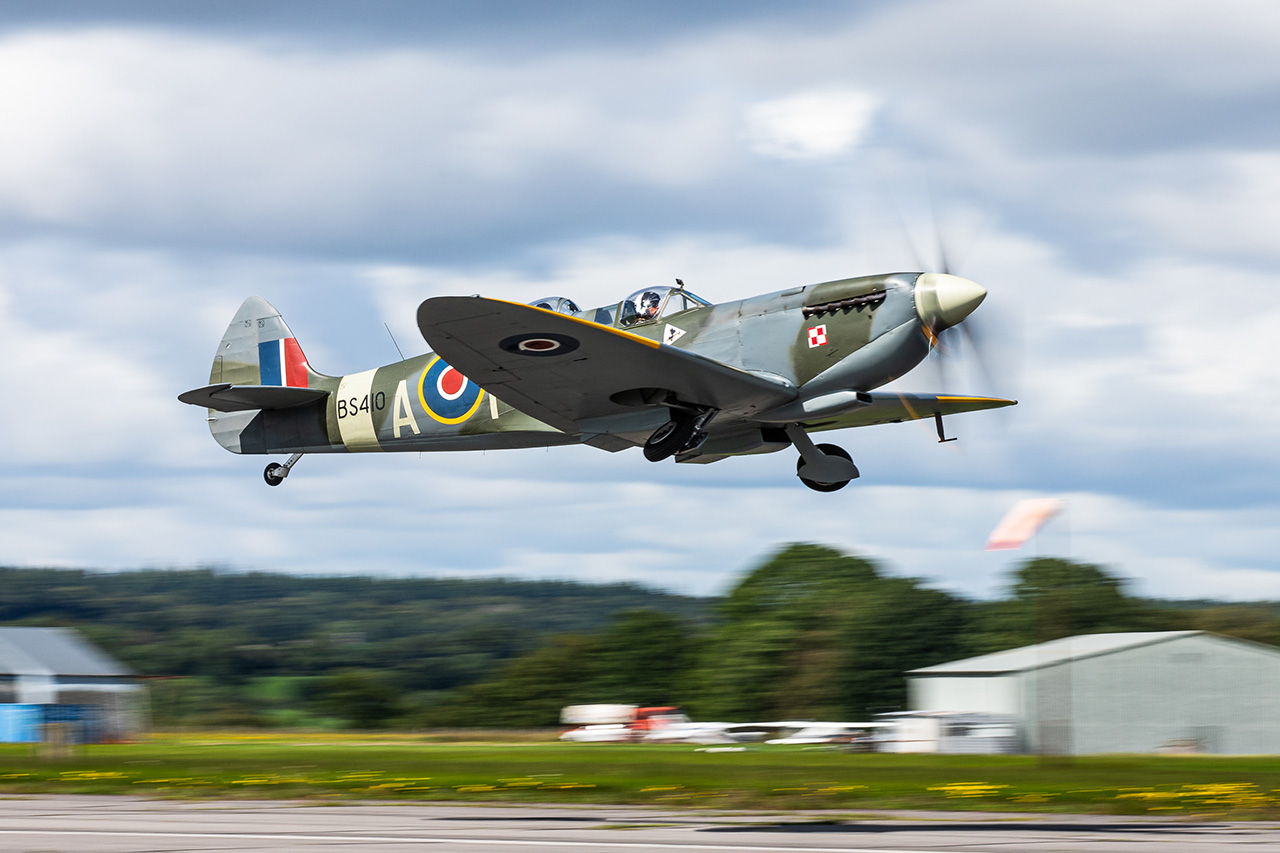
To start out with, for propeller/rotor powered aircraft, you might want to use a shutter speed around 1/320 or 1/400. In most cases, this will allow for some blur while still being fast enough to mitigate any movement by the camera as you hold it. Over time you’ll get steadier and more accustomed to shooting at slower shutter speeds, and you can notch it down to around 1/160 or even 1/100. Below 1/60 you’ll start to see propellers and rotor blades turn into full discs – these are a ‘marmite’ topic, some photographers like it and others don’t. If you want to try it, it’s entirely up to you – but remember you’ll have to be very steady.
Panning is an important technique to get accustomed to. At lower shutter speeds, you can use panning techniques to follow an aircraft as it moves – when done well, this keeps the aircraft sharp while blurring the background, creating a strong sense of movement. If you have image stabilization on your camera or lens, check if it has a mode specifically for panning – many longer lenses do – this will stop the camera trying to fight your panning with the stabilization mechanic. For jet aircraft, panning is a personal, stylistic choice, but for anything with a rotor or propeller where you need the lower shutter speeds it can become a necessity.
While airshows will limit you depending on how the show is physically arranged, when you’re out spotting try and find locations that allow you to shoot with the sun behind you. Shooting into the sun is usually something to avoid, unless you’re going for a special silhouette or sunset type image. At major airfields these spotting locations will usually be marked by other spotters with their cameras. It’s best to stick to established locations along fence lines when possible, to avoid unintentionally drawing the attention of airfield security. Be aware that planespotting, and especially photography, at airfields themselves outside of event days is not always legal or permitted, so check the laws of the country you’re in before doing so.
If you can’t avoid shooting into the sun, use the exposure compensation on your camera and dial in +1 to +2 to compensate and avoid the aircraft becoming silhouetted. On very bright, sunny days, it might sometimes be necessary when shooting with the sun behind you to actually dial in a negative compensation setting to avoid overexposure. Thankfully, with RAW images, you have a decent amount of latitude to brighten or darken an image as necessary after the fact.
Be aware of your surroundings and keep an eye out for features that might add to, or detract, from an image so you can plan your images accordingly. If you can avoid an antenna or piece of fence sticking into the frame by moving a few feet in another direction, that’s simpler than arduously cloning the antenna out of every image you want to use. Blurring the backgrounds by panning can help mask distracting items in view behind an aircraft.
Try experimenting with your composition – rather than always having the aircraft front and center in the frame with a close crop, would it look better positioned another way? At airshows, aerobatic smoke can be a great way to draw a viewer’s eye into the frame in a different way.
If this has been helpful or interesting to you, please let us know – more similar content could come your way! If you have any specific questions or want a particular aspect of aviation photography explained in any follow up articles, feel free to comment below.